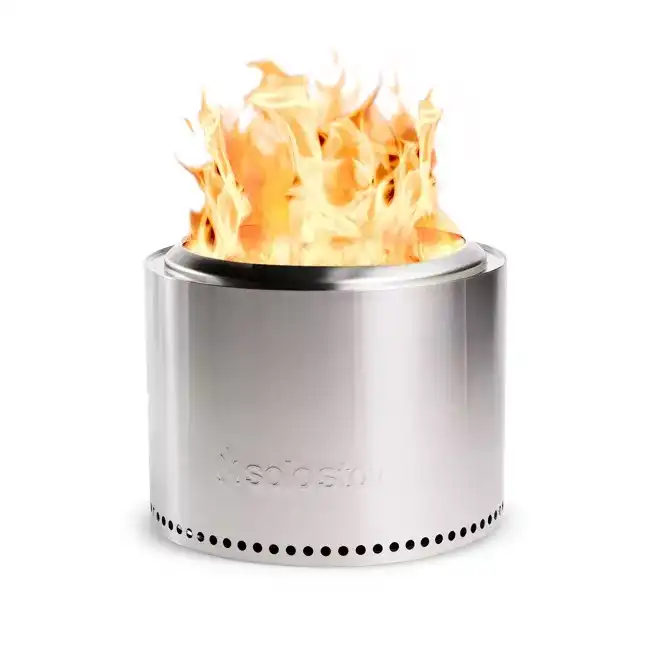
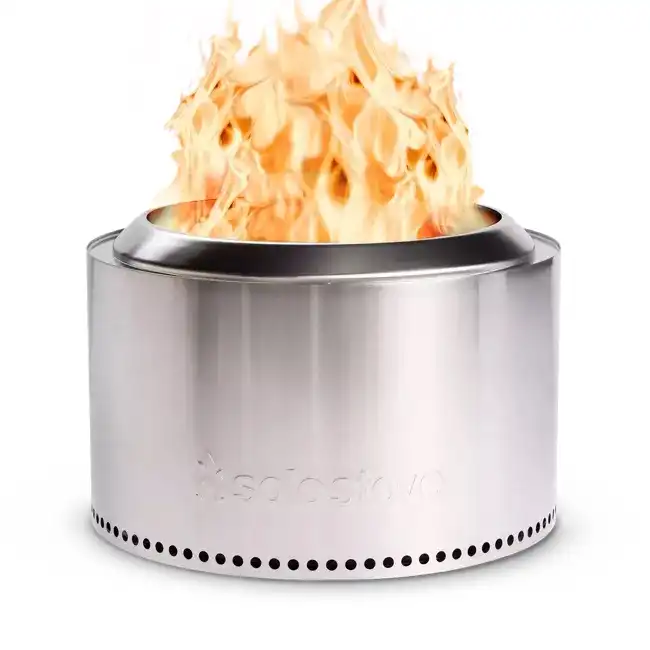
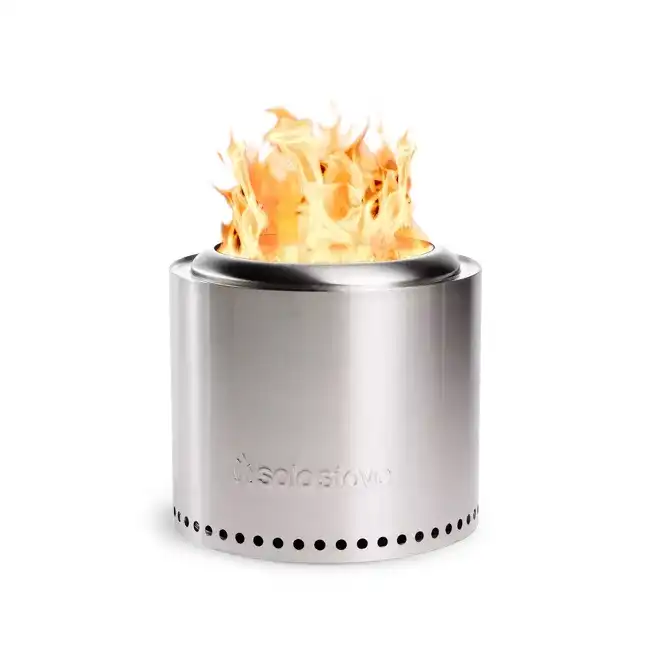
My Solo Stove is kept outside in the spring through fall in Indiana weather. It sees its fair share of rain, snow, sun, etc. although, I do keep a waterproof cover over it when not in use. In the wintertime, I clean it up and move it into the garage until the weather warms back up.
Below are the measurements for the Solo Stove Yukon, Bonfire, and Solo Ranger, or Large, Medium, Small, respectively.
| Solo Stove | Bonfire (Medium) | Yukon (Large) | Ranger (Small) |
|---|---|---|---|
| Height |
14 in / 35.6 cm |
16 in / 40.6 cm |
12.5 in / 31.8 cm |
|
Diameter |
19.5 in / 49.5 cm |
30 in / 76.2 cm |
15 in / 38.1 cm |
|
Weight |
20 lbs / 9.1 kgs |
45 lbs / 20.4 kgs |
15 lbs / 6.8 kgs |
|
Material |
304 Stainless Steel |
304 Stainless Steel |
304 Stainless Steel |
A Tip on Portability
If you are debating on which size to get, technically, all of these are portable. However, due to the size of the Yukon, you will need at least one additional person to help you lift it. The solo Stove bonfire weight is medium. The Yukon is not heavy, but it is awkward and difficult to move alone, especially if you do not have straps, pieces of wood, or something else to place under the fire pit while lifting. Check the solo stove size guide.
Features and Benefits of the Solo Stove
It is smokeless, but with a caveat
You can rest assured knowing this bonfire pit is entirely smokeless. I have neighbors all within 30 to 40 feet of where I have my bonfire pit. I have zero issues with smoke blowing in their direction or those around the Solo Stove. There is a minor caveat to the smokeless feature, which I’ll further detail below.
Incredibly easy to get a fire going
Compared to a traditional fire pit, starting a fire is much easier. There is more airflow around all sides of the kindling that allows the small fire to breathe and get going faster. As long as you are using the proper kindling and firewood, some charcoal, and a little bit of lighter fluid make starting a fire a very trivial task.
Best Firewood For Your Fire Pit
Know the best types of firewood to burn in your bonfire and how to set them up.
You Never Need to Turn a Log
A surprising benefit that I hadn’t realized at first was the fact I never had to turn any of the logs once they were placed in the fire. Embers can continue to burn on all sides because there’s air circulating through the bottom of the fire. They are never suffocated under the weight of the log.
This also keeps the fire burning hotter, which helps keep the logs burning on all sides.
The Light Reflects off the Walls of the Solo Stove
Because the entire body of the solo stove is made of stainless steel, it has a reflective property on the inside and outside for that matter.
You won’t notice this until the sun goes down, but the people sitting across from you are a little easier to see thanks to the stainless steel body and a brighter burning fire.
All Around Better fire + the Secondary Burn
The smokeless feature is great, but one of the best benefits is an all-around better-performing fire. You don’t need to worry about creating a teepee or log cabin to keep your fire going. After all, those formations are all about airflow, and by allowing air to flow under the fire in a Solo Stove, the configuration is irrelevant.
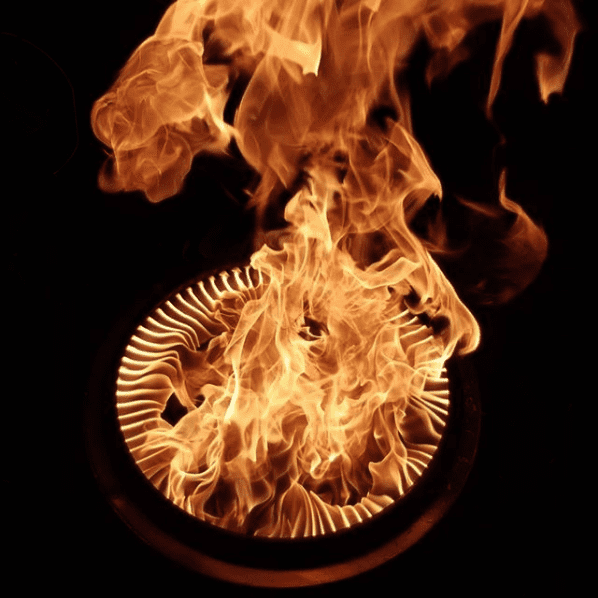
This is a glorious double-burn shown in the Bonfire model. Notice the jet-like flames appearing from the rim. Source: pinchemahalo | Instagram
You can stack the logs however you please, and they’ll burn just as well as any other formation. The secondary burn aids in the quality of the fire too. Your wood burns hotter, and there’s significantly less ash to clean up thanks to the thoughtful design of channeling air through the sides.
Drawbacks of the Solo Stove
Admittedly, the drawbacks are few and far between, and the benefits outweigh them, in my opinion. These drawbacks will vary slightly based on what size bonfire you buy.
Mostly Smokeless, as Long as You Have Enough Fuel
This is the caveat of being smokeless mentioned earlier. It is smokeless, but you need to have the majority of the fire pit filled to achieve the secondary burn that aids in reducing smoke.
I have the Yukon, and to reach complete smokelessness, the fire pit needs to be mostly full.
What Is a ‘Secondary Burn’?
Secondary burn refers to an effect seen in smokeless fire pits where it appears another smaller fire appears around the inner rim of the fire. This secondary burn is completely harmless, not dangerous, and in fact, is something to be achieved. It means your fire is burning at its most efficient point, and most guests marvel at the effect because so few have seen it.
If it’s not, the fire is, I’d say 85-95% smokeless, which is still significantly better than any other fire pit I’ve used. I theorize this due to the heat of the fire. The hotter it burns, the less energy there is left to escape as smoke. Naturally, more wood means more energy, and thus it burns more efficiently.
Also, in any fire, it’s important to use good wood. Hardwoods without bark that have been seasoned, typically produce less smoke than softer woods like pines or other conifers.
Cleaning the Solo Stove
You’ll need to clean the Solo Stove that you purchase, but the Solo Stove is a little tricky. In the short and long run, the Solo Stove produces significantly less ash, so you won’t need to clean it as often. On the other hand, dumping the pit can be difficult since you don’t want to scratch the stainless steel body.
Mostly Portable
All Solo Stoves are portable. They do not need to be mounted to anything. The solo stove Ranger and Bonfire can easily be moved by one person when the fire pit is not in use or has fully cooled down. The Yukon, on the other hand, is difficult to move alone and no damage in the process. It’s not impossible, but not recommended.
If you think you may need to frequently move your Solo Stove or plan on bringing this out for tailgating, some ideas are below for making the experience easier.
It Gets Hot on the Sides
This is mostly a drawback, in my opinion. However, due to it being made out of stainless steel, heat radiates throughout the entire body. The outside can get hot, which can pose a burn hazard (ideas below to help prevent that).
On the other hand, this does help to radiate some heat outward, unlike traditional bonfire pits.
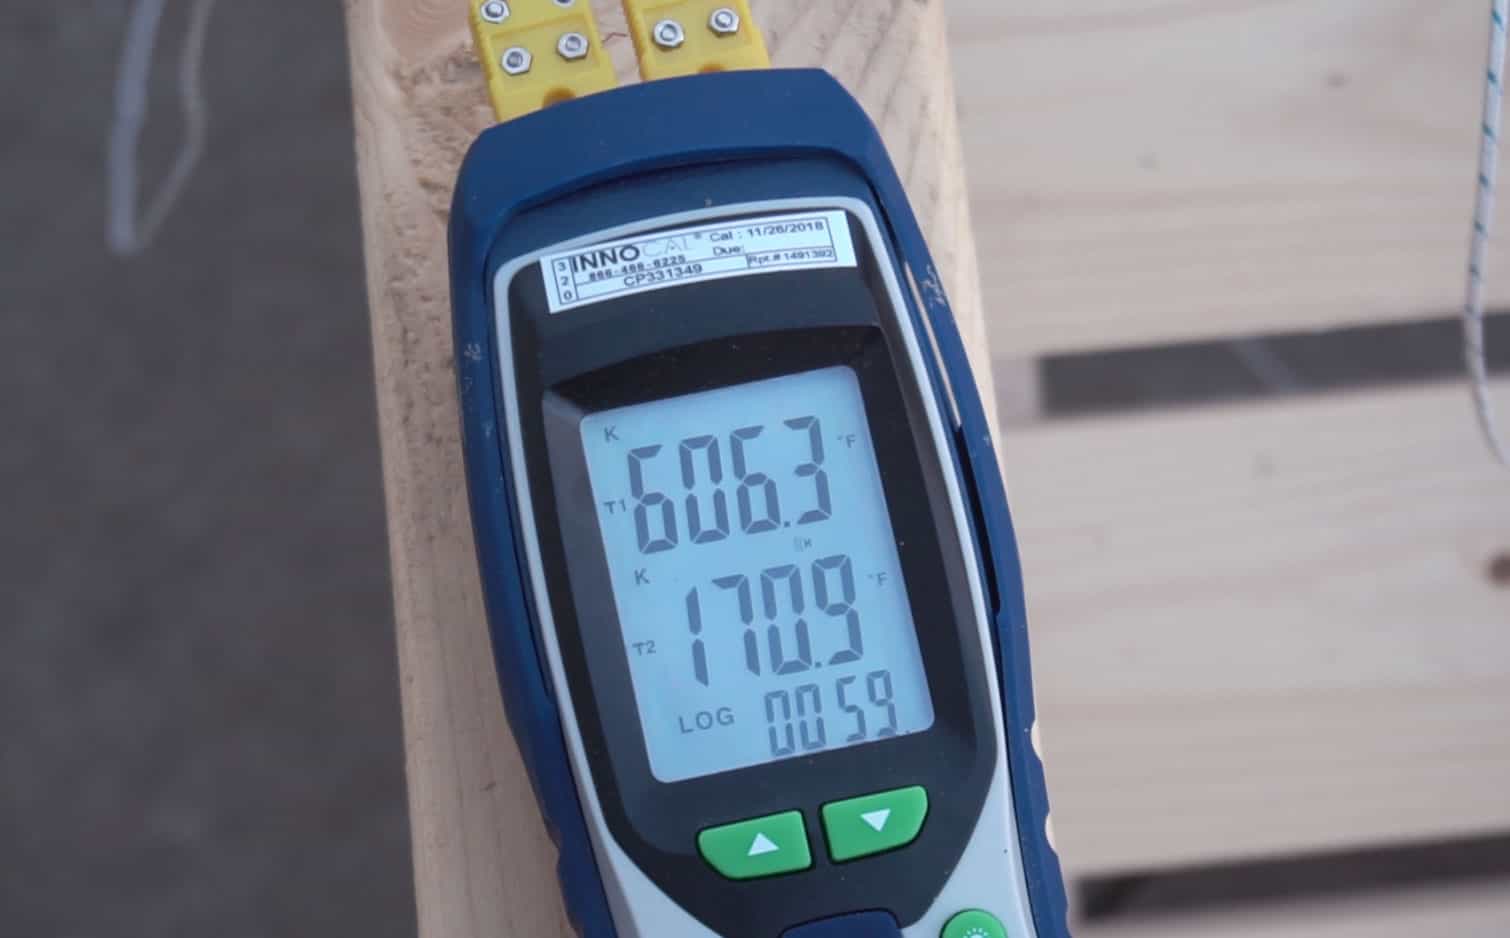
This was one of the readings from the thermocouple. The top reading is from the rim of the Solo Stove. The bottom number is the metal at the bottom.
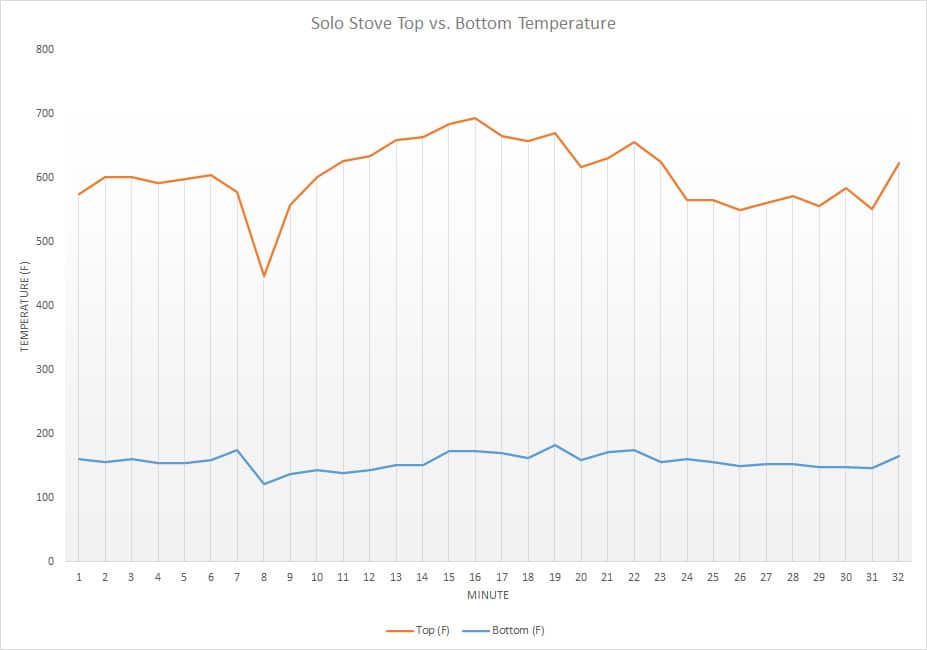
This is the data from the thermocouple log of a short, but fairly hot burn. Temperatures were taken at the bottom, right at the air holes, and at the top around the rim. The top peaked around 700F and the bottom peaked around 200F.
Won’t Stay Shiny Forever
It’s shiny and sharp looking when you first get it, but after a couple of fires, and definitely after several seasons, that illustrious shine is gone. Admittedly, this doesn’t matter when it’s dark out anyway, and it’ll be covered during the day, but this is worth mentioning.
The shine can be restored with a little bit of elbow grease, but as mentioned earlier, some Solo Stove owners opt to paint theirs instead.
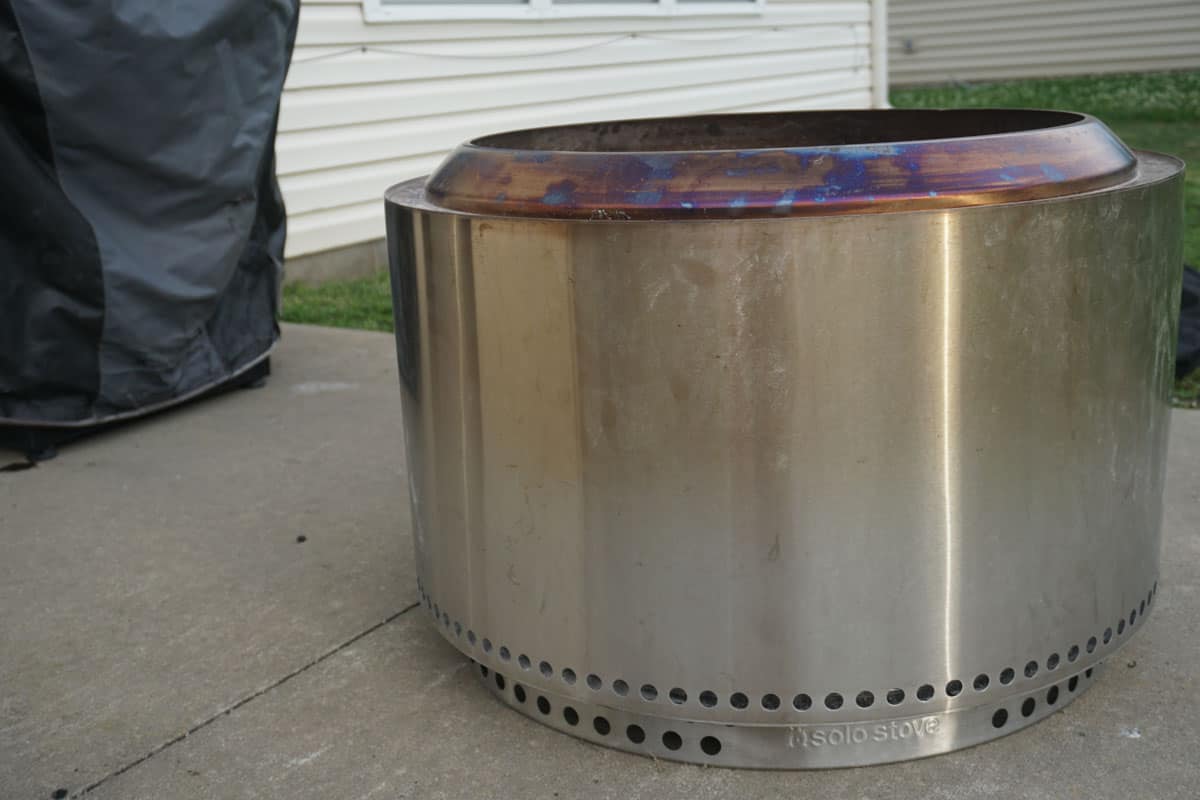
The stainless steel will lose its luster season after season. Some of it can be restored, which is described towards the end of this article.
Bottom Line
My bottom line opinion is the Solo Stove is well worth the money, despite the drawbacks mentioned above. The Yukon or Bonfire is a guaranteed show stopper and will impress your guests or family with the secondary burn. If you’re ever the person that always gets stuck in whichever way the smoke is blowing, you won’t have to worry about that anymore.
I was surprised at how efficiently the Solo Stove burns. After the first use, you’ll be surprised at what little ash is left over from the night before. The Solo Stove radiates heat well and is a beautiful piece of outdoor furniture. It’s perfect for roasting marshmallows over or sitting by with a glass of wine or beer.
If you’d like to learn some more tips and see pictures of more ideas, read on below.
Tips From My Experience with My Solo Stove
Consider How Much Wood You Want to Buy, Can Store, and Will Use
I hadn’t thought of this beforehand, but luckily I had enough space for plenty of wood. Remember that wood is an additional cost, and it will be easier and cheaper to buy wood in larger quantities rather than the bags or bundles at the gas station or home improvement store.
Also, consider where you will store the wood. Ideally, firewood needs to be stacked, off the ground, covered, and away from the house. This article goes further in-depth on how to store firewood and do it very cheaply. A cord of firewood is 128 cubic feet and measures 4’ deep, 8’ long, and 4’ high. A cord of seasoned and split hardwood, like Oak, will usually run in the $280-$350 range depending on the dealer, location, and availability.
How to Save Money on Firewood
This Seems Expensive At First, But Compared To The Firewood Bundles You See At The Gas Station Or Home Depot, You’re Saving A Significant Amount Of Cash And Hassle By Buying More Upfront.
- A Cord Of Firewood Is 128 Cubic Feet And Costs $320. That’s $2.50 Per Cubic Foot.
- A Bag Of Firewood At Home Depot Or Lowe’s Is Typically A Cubic Foot Or Less And Costs $6.00.
If You Were To Purchase A Full Cord Of Firewood At A Home Improvement Store, It Would Run You Close To $768. That Costs Over Twice As Much, Not To Mention The Time, Gas, And Hassle Spread Out Over Those Multiple Trips To The Store.
Some Solo Stove owners opt to use wood pellets instead of logs. This is a perfectly fine alternative, although I never tried it myself. The Solo Stove Owner Facebook Group offers some helpful suggestions.
Buying Firewood for Beginners – Everything You Need to Know
Avoid Getting Any Oils From Your Skin on the Solo Stove
This doesn’t matter as much in the long run, but you’ll notice areas after the first couple of burns where you handled the Solo Stove. Those areas with oils from you can skin heat up differently from the surrounding areas, and fingerprints or oil streaks become apparent.
As time goes on, those marks will eventually fade, but they’re very noticeable upfront in the daylight.
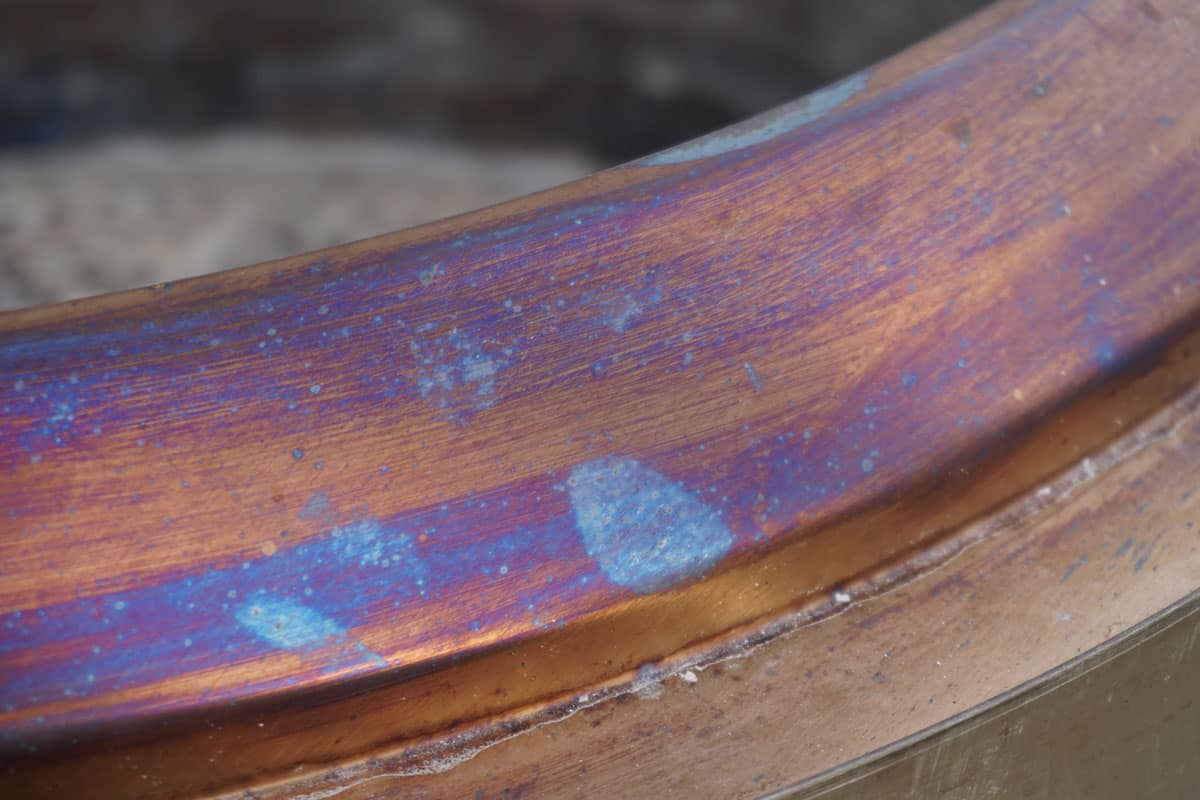
Although it has faded over time, there are areas where the oils from fingers are heated unevenly.
Absolutely 100%, Without a Doubt, Buy These Accessories
- A waterproof cover
- A metal bucket
- The stand (which usually comes with it).
You may consider getting a cheap furniture dolly at Harbor Freight to help move the Yukon, but it’s not necessary. Having a waterproof cover is essential if the Solo Stove will be exposed to the elements. The body is made of stainless steel, but that does not mean it is rust-proof!
Excessive exposure to water over time will ruin the fire pit, and it’s better to spend $30 on an off-brand cover to protect the Solo Stove from the weather.
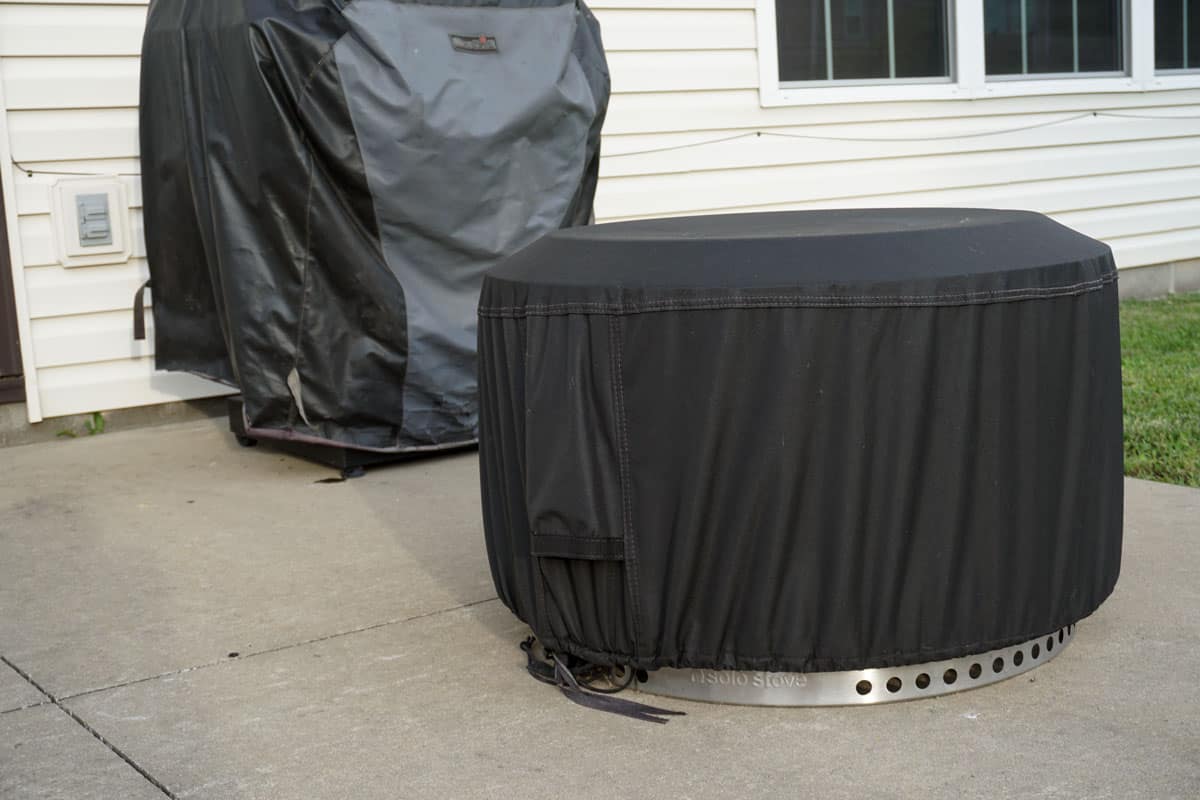
This cover has worked fantastic for me over the past few seasons. Not a single drop of water gets through the fabric. The cover shown in the picture above is the one I have had for over a year now and has kept my Yukon bone dry.
It’s half the price of the Solo Stove brand cover and performs as advertised.
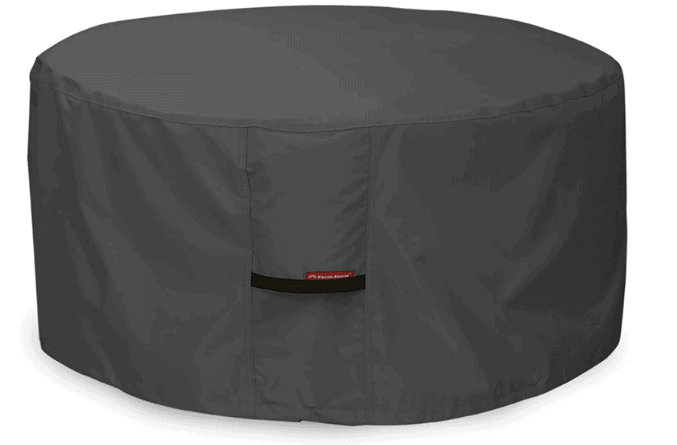
We Recommend the Porch Shield 600D Fire Pit Cover
The reason for a metal bucket is two-fold. For one, it holds water in case you have an ember that jumps out onto dry grass. Secondly, and more importantly, you can scoop embers into the bucket and put those out, allowing the Solo Stove to cool down faster where it’s safe to put the cover over. This is especially helpful at the end of the night and if rain may be heading your way.
Made of 600D Polyester fabric with added waterproof laminated undercoating. High-level double stitching sewn, all seams sealing taped can prevent tearing, fight wind and leaks.
Behren’s Galvanized Steel Utility Bucket
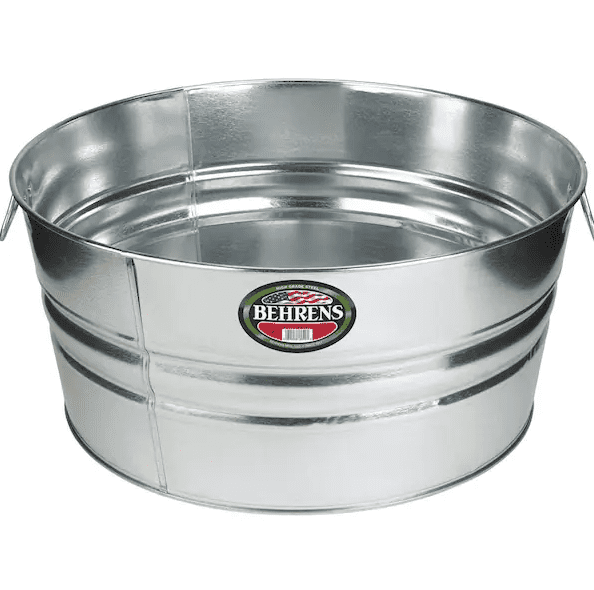
Built with the highest quality material, this utility pail is durable, made to last, and comes in both galvanized and hot dipped galvanized steel.
Other Solo Stove Accessories to Consider
You may also want to consider buying a snuffer – which is a lid that suffocates the fire. Many people from the Solo Stove Facebook Group use a metal trash can lid or the lid of a barbeque grill. If you choose not to use a metal bucket to put out the embers, this is the next best option, although it takes longer.
Additionally, a screen helps prevent embers from jumping out. Most hardwoods won’t have this issue, but if you’re using a softer wood, like pine, then a screen will drastically reduce the risk of fire.
Also seen in the Solo Stove Facebook Group, a stone top, like the one linked below, can be placed on top of the fire pit when not in use. The Solo Stove is the perfect height with a stone top to be used as a drink table during the day.
Holland Bar Stool Co.’s Outdoor Table Top

How to Clean the Solo Stove
If you have the Bonfire or anything smaller, turning the Solo Stove upside down in the grass is your best bet. However, for the larger Yukon, a shop vac, air compressor, or leaf blower is your best bet. You can use a shop vac to suck all of the ashes out, or while wearing a mask, blow all the ashes elsewhere with an air compressor leaf blower.
If you are looking to clean the exterior of the Solo Stove, you’ll want to use Bar Keeper’s Friend, which you can find at most major retailers or on Amazon. Bar Keeper’s Friend is a polishing compound, and the process is straightforward. Apply Bar Keeper’s Friend liberally and scrub with a sponge.
Rinse the excess off with a clean, lint-free cloth, and repeat until you see the desired results.
Bar Keepers Friend Scrubber Kit

Check the weather first
This should go without saying, but check the weather before you start a fire. You do not want to leave the Solo Stove sitting out in the rain uncovered, or its lifespan will be significantly reduced! Know what the weather is going to be like for the night and be sure you allow the Bonfire to burn out and the Solo Stove to cool down so you can cover it before it starts raining.
How to easily light the Solo Stove
In my experience, a big bag of charcoal is cheap, and you only need a few with some lighter fluid and kindling to get a fire going. I stack my kindling in a nest or log cabin, then place the 3-4 charcoal in the middle and spray it with some lighter fluid.
Once you light that, stacking logs around the kindling gets the rest going easily, as long as your wood is dry.
Solo Stove Comparisons: Solo Stove Bonfire vs. Yukon
| Technical Detail | Bonfire | Yukon |
|---|---|---|
| Height / Diameter |
14 Inches / 19.5 Inches |
16 Inches / 27 Inches |
|
Weight |
20 Pounds |
38 Pounds |
|
Volume |
18.10 Gallons |
39 Gallons |
|
Price |
Here are the two most important things to consider if you’re torn between the Bonfire (medium) and Yukon (large) Solo Stove models. For one, how many people do you expect to have around the fire? A family of 4 can fit comfortably around the Bonfire, although the Yukon will put out more heat – assuming you put more wood in it.
Secondly, do you plan on moving it often? The Yukon may be a good option for tailgates if you have a truck and at least one other person to help you move it. Additionally, due to its size, it’s harder to steal for a would-be thief.
Lastly, how much wood do you plan on purchasing? If you can purchase a full cord or even half a cord, then this point is irrelevant. A half cord of a good hardwood will likely get the Yukon through most of the season with moderate use.
If you use your Solo Stove often, it’s essential to get slow-burning hardwood. Part of the price of a magnificent-looking fire is it burns wood faster. There’s more airflow in a Solo Stove, so that comes with the territory.
Solo Stove Ranger vs. Bonfire Comparison
| Technical Detail | Ranger | Bonfire |
|---|---|---|
| Height / Diameter |
12.5 Inches / 15 Inches |
14 Inches / 19.5 Inches |
|
Weight |
15 Pounds |
20 Pounds |
|
Volume |
9.56 Gallons |
18.10 Gallons |
|
Price |
Looking at the Ranger and the Bonfire, the biggest difference is the size and not much else. The Ranger is essentially a more-portable Bonfire. A nylon carrying case is included with the Ranger, which further emphasizes its portability.
While the Ranger would suffice for a family of 4, you will find yourself wanting a little more in the future. However, if you do not plan on having fires often, this is likely a better option. It does not burn as much wood as either the Bonfire or Yukon so you will save on the wood cost.
Speaking of wood, because of the Ranger’s size, you are better off using wood pellets, which can be purchased on Amazon for a good price. The Ranger will not fit standard size 16” logs, so you will need to either cut those logs down to size or leave them partially sticking out.
Flame Genie vs. Solo Stove Comparison
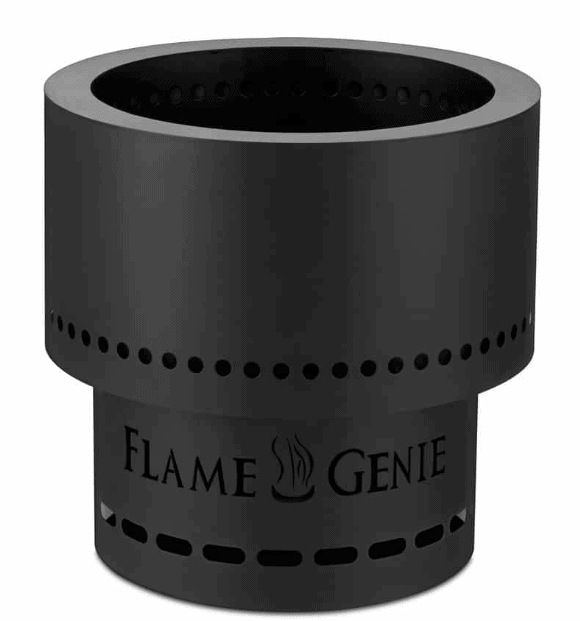
| Technical Detail | Flame Genie 19″ | Solo Stove Yukon |
|---|---|---|
| Height / Diameter | 16.25 Inches / 19 Inches | 16 Inches / 27 Inches |
| Weight | 27 Pounds | 38 Pounds |
| Volume | 12.27 Gallons | 39 Gallons |
| Price |
If you’re looking at the Flame Genie because of the paint job, don’t be fooled. Over time, this paint will flake, and you’ll be left with a partially painted fire pit.
The most noticeable difference between Flame Genie and Solo Stove is the Flame Genie uses, almost exclusively, wood pellets. Customers complain the fire has to be tended to constantly, or it will die quickly, even when using the recommended pellets.
While you can use firewood in the Flame Genie, the design in itself is poor! A top-heavy fire pit is a recipe for disaster. It has recently been reported that the Flame Genie has gone through cost-reduction designs in the wire grate underneath, which is adversely affecting performance.
While a Flame Genie is cheaper upfront, the longevity and use of the fire pit will inevitably cost you in the long run!
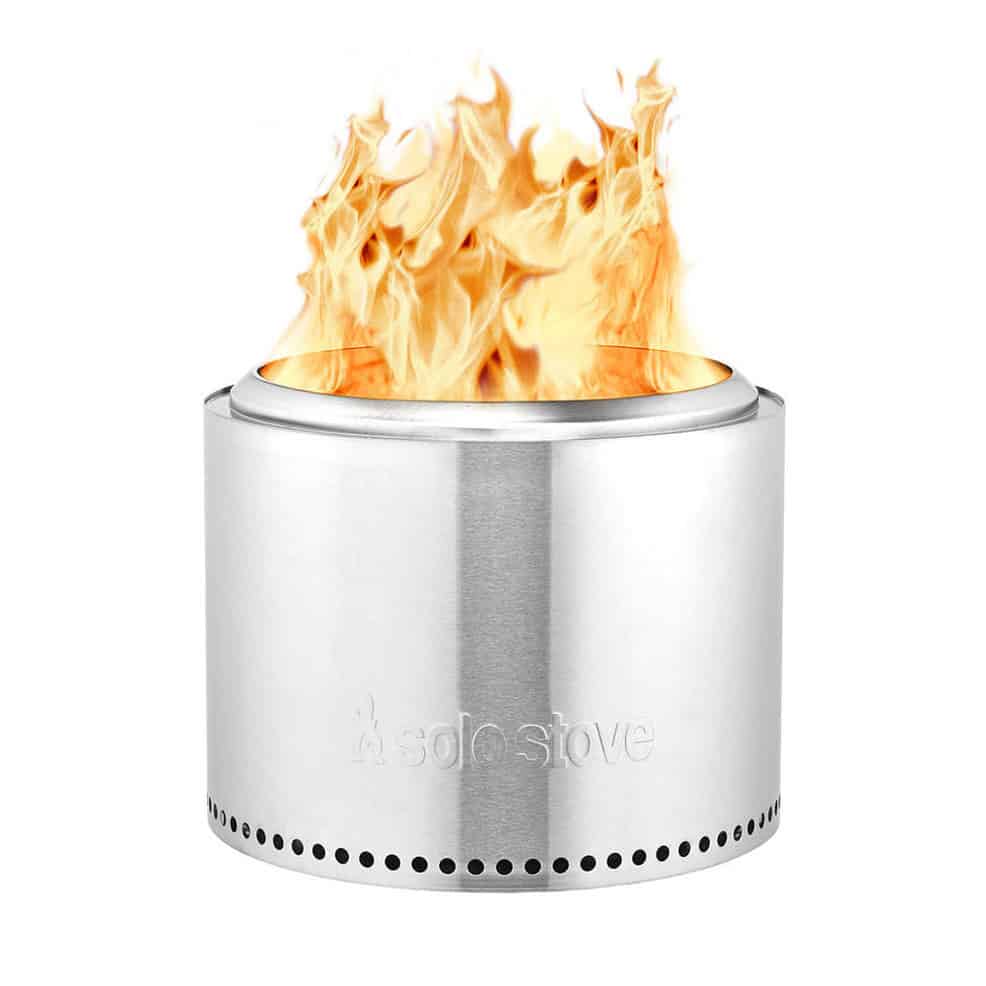
Produces a larger flame, more heat & longer burn times. Be captivated by the mesmerizing flames while adding a warm glow to your patio, campsite, or outdoor adventure.
Solo Stove Company Profile
- Website:https://www.SoloStove.com/
- Founded: 2010
- Headquarters: Southlake, Texas
- Manufacturing Location: China
Solo Stove was started in 2010 and originally started out making portable camping stoves for outdoor enthusiasts alike. Fire pits did not enter Solo Stove’s offerings until 2016 when the original Bonfire reached nearly 5,000 backers with pledges totaling over $1.1M. Solo Stove went on to launch the smaller Ranger and larger Yukon on Kickstarter and Indiegogo with both projects funded in less than an hour.
FAQs
Question: Can you put a solo stove on a deck?
Answer: Yes, you can; however, you will want to either use the Solo Stove brand stand, placing a bonfire mat or some concrete pavers in between the deck and Solo Stove. Based on the temperature data above, there’s a constant 150F to 200F your deck is facing. The thermal expansion will likely wear out your deck much faster and could cause a potentially dangerous situation.
Question: Can you cook on a solo stove?
Answer: Yes, you can, all you need is an additional grill attachment that either rests on top of the Solo Stove or hangs over it. A standard grill grate that is larger than the diameter of your solo stove is an easy solution. Ideally, you will want to look for a grate that has handles to make it easy to remove when you’re done cooking.
Question: Does a Solo Stove rust?
Answer: Generally speaking, the Solo Stove will not rust as long as some simple precautions are taken. The Solo Stove needs to remain covered when not in use and be protected from rain, snow, or other precipitation. Do not dump water into it to extinguish a fire, instead let it burn out on its own.
The bottom grate that supports the logs will show some rust over time due to the high heat it experiences. This is not an issue and will not affect the performance of your Solo Stove.
Question: How is the Solo Stove smokeless?
Answer: The Solo Stove’s design is where the magic happens. If you look at a traditional fire pit, you may get a lot of smoke that blows one way or another. This occurs because the wood burns very inefficiently. The smoke that is released into the air is a collection of carbon and other particles that were not burned.
Air flows in through the bottom is heated up, then pulled through the top for a secondary burn. The Solo Stove’s ‘secondary burn,’ which occurs just beneath the rim of the fire pit, burns these remaining particles for a smoke-free experience.
By pulling and heating air through the hollow walls of the Solo Stove that air gets released and is optimized to burn any remaining particles that would otherwise be released as smoke.
Question: Can you use pellets in a solo stove bonfire
Answer: Yes, you can, and many people, especially in urban areas, find this a good solution where firewood is not easily stored or available.


