
For gardeners, few things are more exasperating than watching grass repeatedly invade a well-tended flower bed. Grass seeds are easily spread by wind, birds, and bugs, so it’s an issue no gardener can completely avoid.
In particular, grass species like Bermuda and zoysia are notorious for how aggressively they can overtake a garden. Fortunately, there are plenty of cost-effective techniques to help prevent and destroy unwanted grass of all varieties. Follow these preventive and proactive measures to get rid of grass in flower beds.
How to Keep Grass Out of Flower Beds
1. Pile On The Mulch
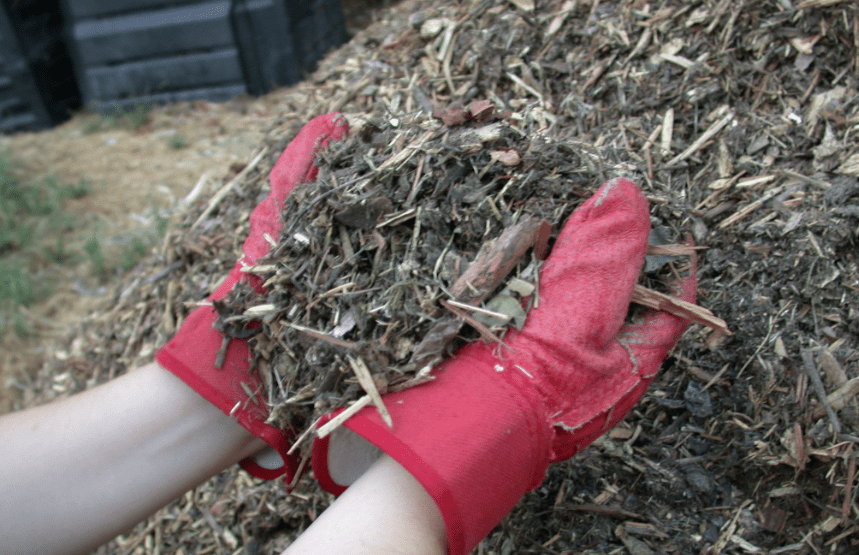
Mulch is a solid option for keeping grass from gaining a stronghold in your garden since it prevents new seeds from germinating.
If there are existing weeds, first pull them out by the root using your hands or a trowel. Then apply three to six inches of mulch to the flower bed and spread it around loosely. Wood chips, composted leaves, bark nuggets, peat moss, straw, and pine needles are all viable options.
If you want an added layer of protection, put down a few sheets of newspaper and lay square pieces of cardboard on top of them.
If it’s a windy day, soak the newspaper in water to keep it from blowing away. Once the newspaper and cardboard are in place, spread the mulch of your choosing all across the top. Keep in mind that mulch eventually breaks down, so plan to replace it at least once a year.
Biodegradable landscape fabric can be used as a substitute for newspaper and cardboard as well. Simply cut the fabric down to size, and make X-shaped incisions where you want to plant the flowers.
2. Edge Out The Grass
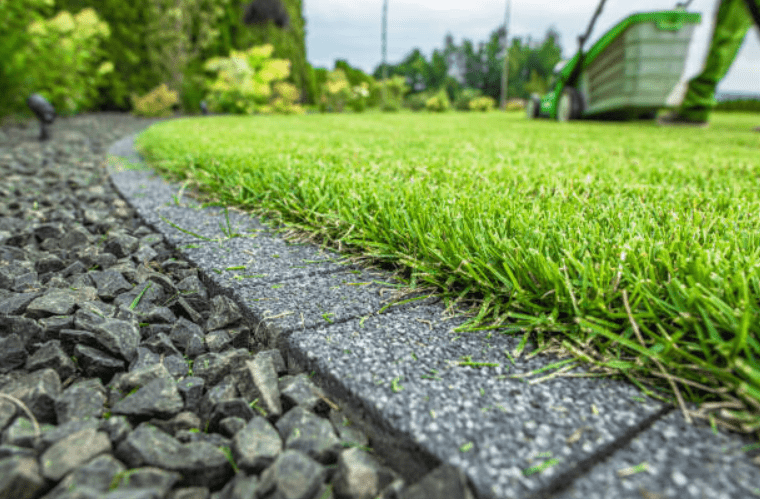
Installing a physical barrier around the perimeter is a highly effective way to keep grass from growing in flower beds. Edging gives gardeners the opportunity to flex their artistic muscles too, because of the wide array of materials and colors to choose from. Depending on the size and shape of your flower bed, you can pick bricks, concrete blocks, stones, railroad ties, or plastic, aluminum, or steel strips.
Plastic, aluminum, and steel edging kits are available at most garden centers. Aluminum and steel edging kits in particular are ideal for straight-line flower beds. Bury the strips four inches into the ground and leave a ½ inch of the border sticking out to ensure that grassroots won’t grow over it.
If using bricks or stones, dig a trench six inches deep, leaving one extra inch for the brick itself. Remove any loose soil with a garden hoe, so you have a flat, smooth surface to lay the bricks into. Then, dump two inches of paver base or sand into the trench and flatten it out.
Now you’re ready to set the bricks in place one by one. Once the bricks are set evenly around the flower bed, shake a little paver base in-between the cracks of the bricks to ensure a seamless foundation.
Although this method requires a bit more elbow grease than installing an edging kit, it lasts a lot longer. Moreover, edging gives a garden a neat and tidy appearance. Since there are endless ways that edging can be arranged, gardeners can play around with aesthetics and add an artistic flair to their garden or flower bed.
3. Spray the Right Type of Herbicide
If stubborn grasses are already overwhelming your flower bed, it’s not too late to reclaim your space. There are two herbicidal options–selective and non-selective.
Selective herbicides will target only the grass, whereas non-selective herbicides kill everything they touch. Although it’s common to apply herbicides in the late summer, it’s best to use them when the grass is actively growing. Always check the label of the herbicide before you use it to ensure it won’t damage ornamental plants.
When applying a non-selective herbicide in a flower bed, use cardboard to cover the flowers while you spray. This will protect the ornamentals you want to keep from harmful chemicals.
Whether you opt for organic or synthetic herbicides, always remember to spray it on wind still days. Wind will carry the herbicide to nearby plants and contaminate them. It’s best to apply the herbicide directly to a foam brush and carefully swipe it over the blades of unwanted grass.
4. Bake It Away
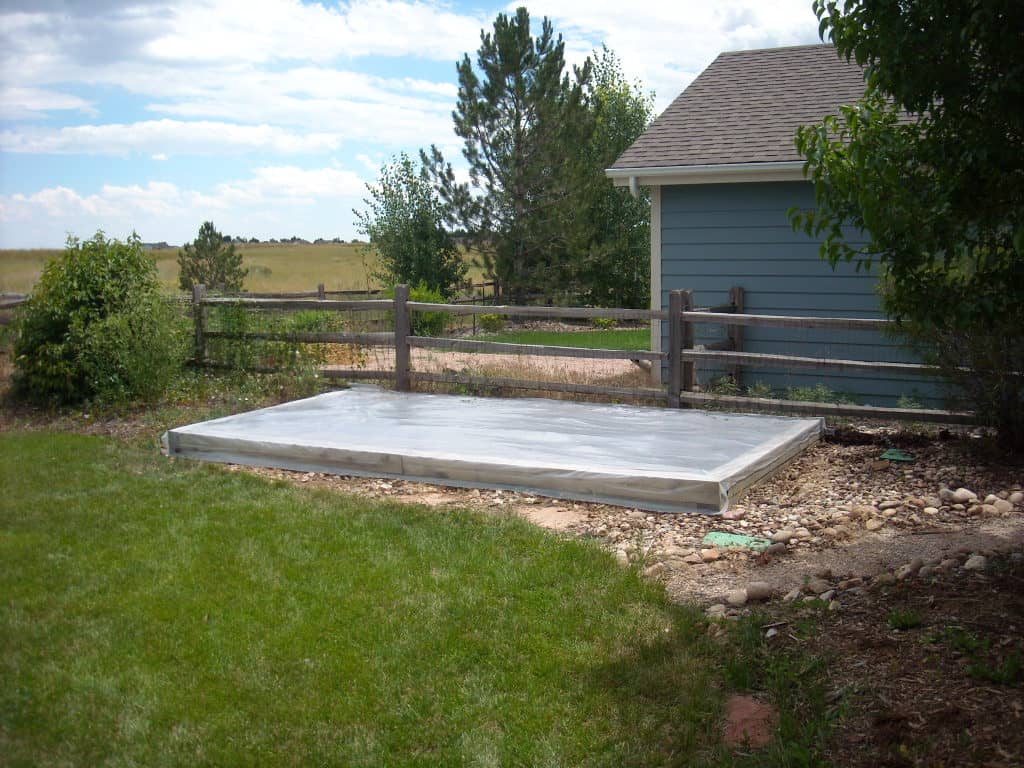
One of the most powerful recipes for killing grass is also one of the simplest. A plastic tarp, the power of the sun, and a little patience make for a surprisingly effective, non-chemical way to get rid of grass in flower beds.
This method, known as soil solarization, kills grass and grass seeds by using the sun’s heat to sterilize the soil. It works quite well at destroying Bermuda and zoysia grasses, making it an appealing strategy for gardeners who are fed up with battling aggressive grasses.
Timing is important if you’re going to rely on the sun’s rays to do your work for you. Soil solarization is most effective during summer’s hottest months when the sun shines the brightest and longest, so it’s crucial to start the process in June or July.
Venture to your local garden center for rolls of clear plastic tarp. When it comes to solarization plastic, thinner is better. Opt for 1 mil thickness to ensure that the maximum amount of heat can pass through. However, since 1 mil can be prone to tearing, it’s acceptable to buy 2 mils in the interest of longevity.
Before you begin, rid your flower bed of all plants and mulch, and till the soil to get rid of any rocks or clumps. Smooth the soil over with a rake to create a flat, even surface area. Compost and worm castings have been shown to increase heat generation within the soil, so throw some in if you have it handy. Next, drench your flower bed with water, making sure to get a foot of the soil wet.
Now drape the plastic over the flower bed and anchor it down. The plastic should be as close to the soil as possible. Those with raised garden beds will be able to accomplish this part quickly. Use a soil thermometer to monitor the temperature periodically for the next four to six weeks. The soil should maintain a temperature of 110 degrees Fahrenheit for the entire duration.
Once you remove the plastic tarp, you can begin planting flowers and vegetables in your newly sterilized, grass-free soil. Soil solarization takes a while, but it’s truly a testament to the old adage, “slow and steady wins the race.”

