
For seasoned green thumbs, worms are a source of immeasurable joy. These earth-friendly crawlers aren’t only good for fishing bait, but they are also a great way to turn your organic scraps into nutrient-rich soil which your plants will love!
The process of vermicomposting involves using certain species of earthworms and microorganisms to process and convert biodegradable refuse into a better end product. Once the worms get their fill of your scraps, they pass it on to their digestive tract and excrete castings.
These processed castings contain lower levels of contaminants and a higher amount of nutrients and minerals. When mixed with soil, it’s definitely a better option for your plants. The vermicomposting industry is widely known in the world of organic farming and small-scale plant businesses. Today, we are going to show you how you can set up your very own vermi-system at home!
All in the Wormy Details
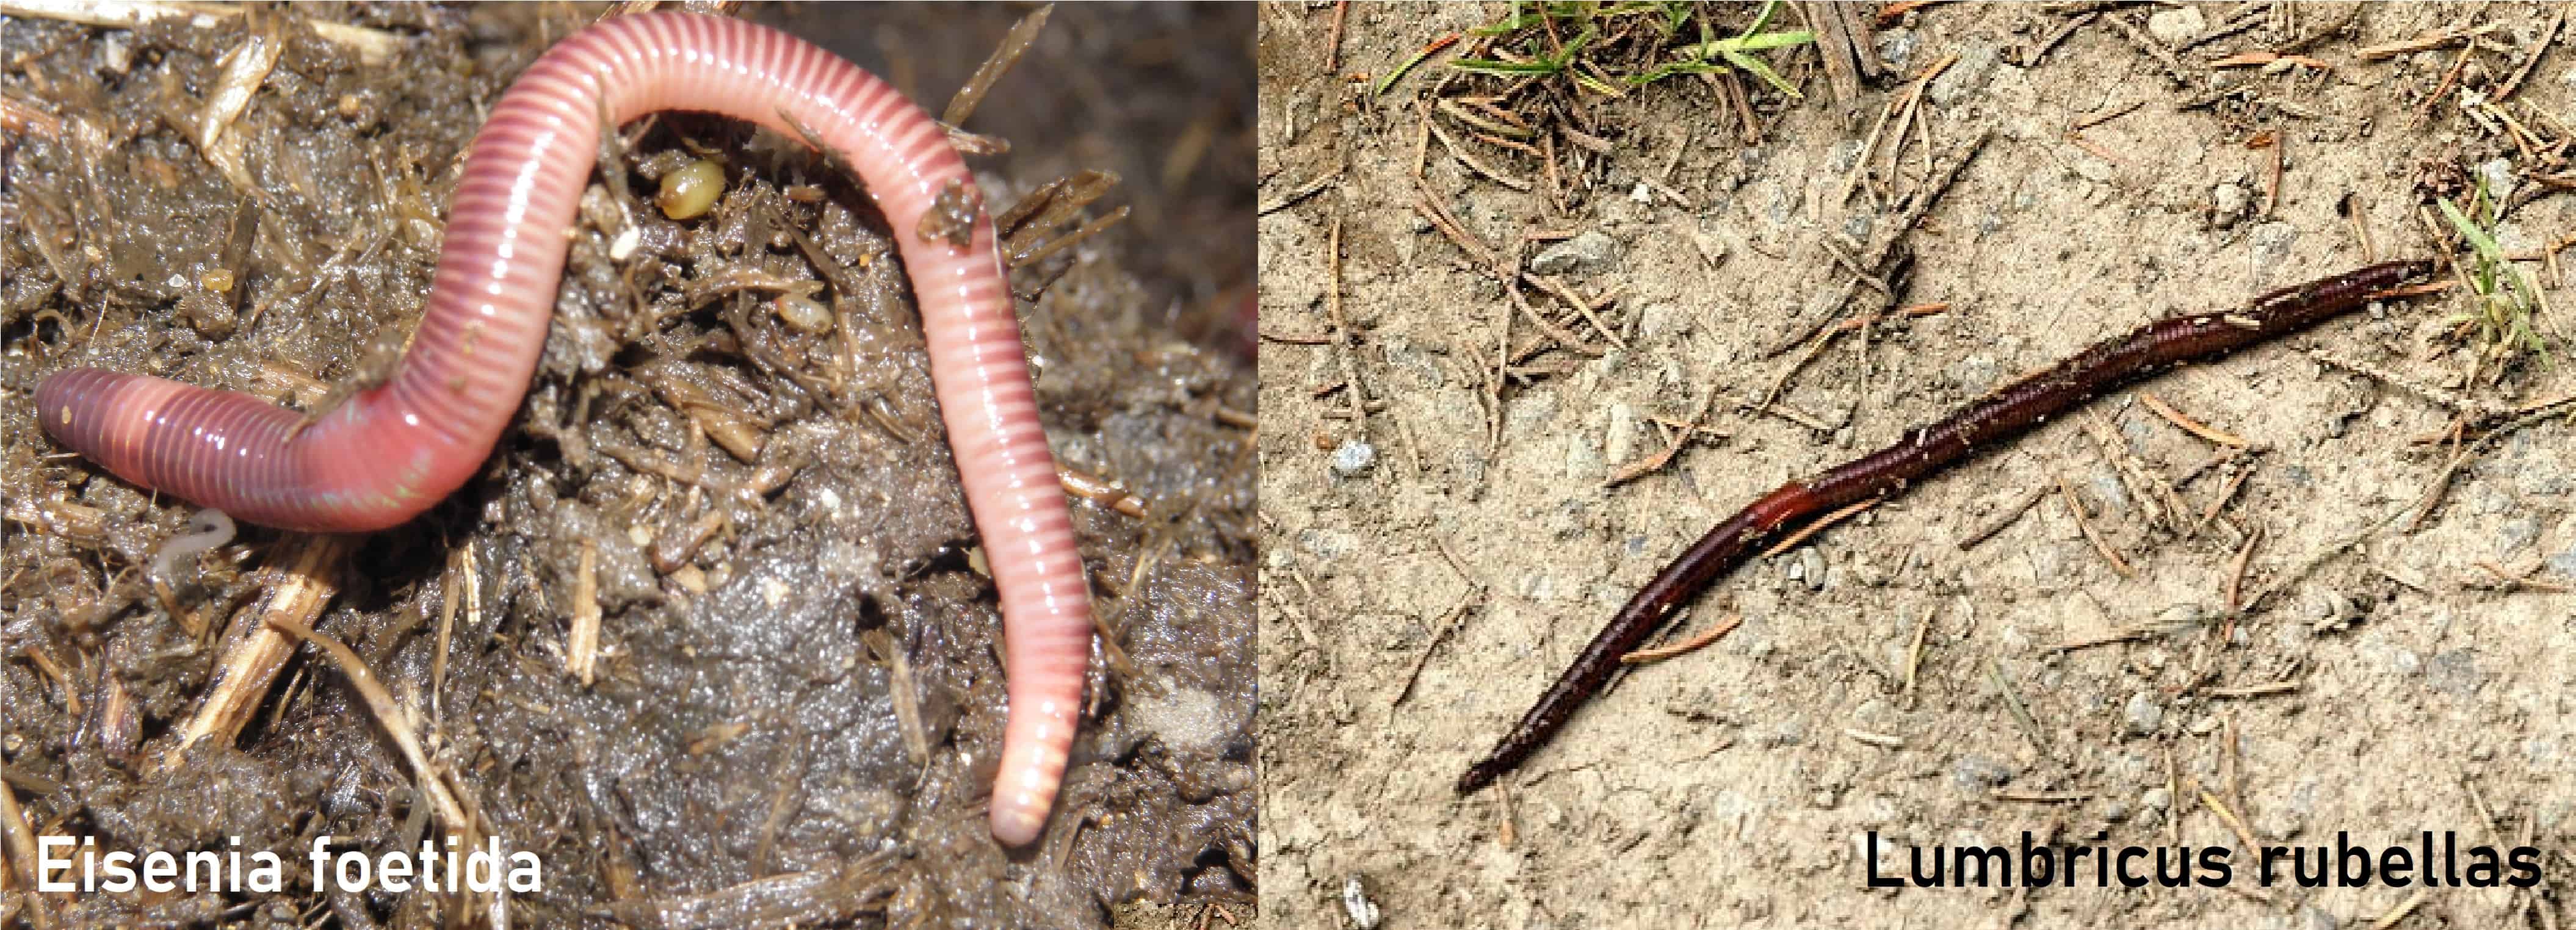
Simply speaking, we use different species of earthworms to do the work. There are more than 3,500 types of earthworms that can be classified into burrowing and non-burrowing types. Red earthworms, such as the Eisenia foetida and the Lumbricus rubellas are two of the most efficient kinds.
Worms are surprisingly low-maintenance and easy to take care of. Vermicomposting systems are generally self-sufficient, with only minimal supervision and costs involved. Worms don’t need daily feedings and can be left on their own to do the work. That’s why this method is very popular among organic growers to create nutrient-rich, dark soil.
Only the Good Stuff
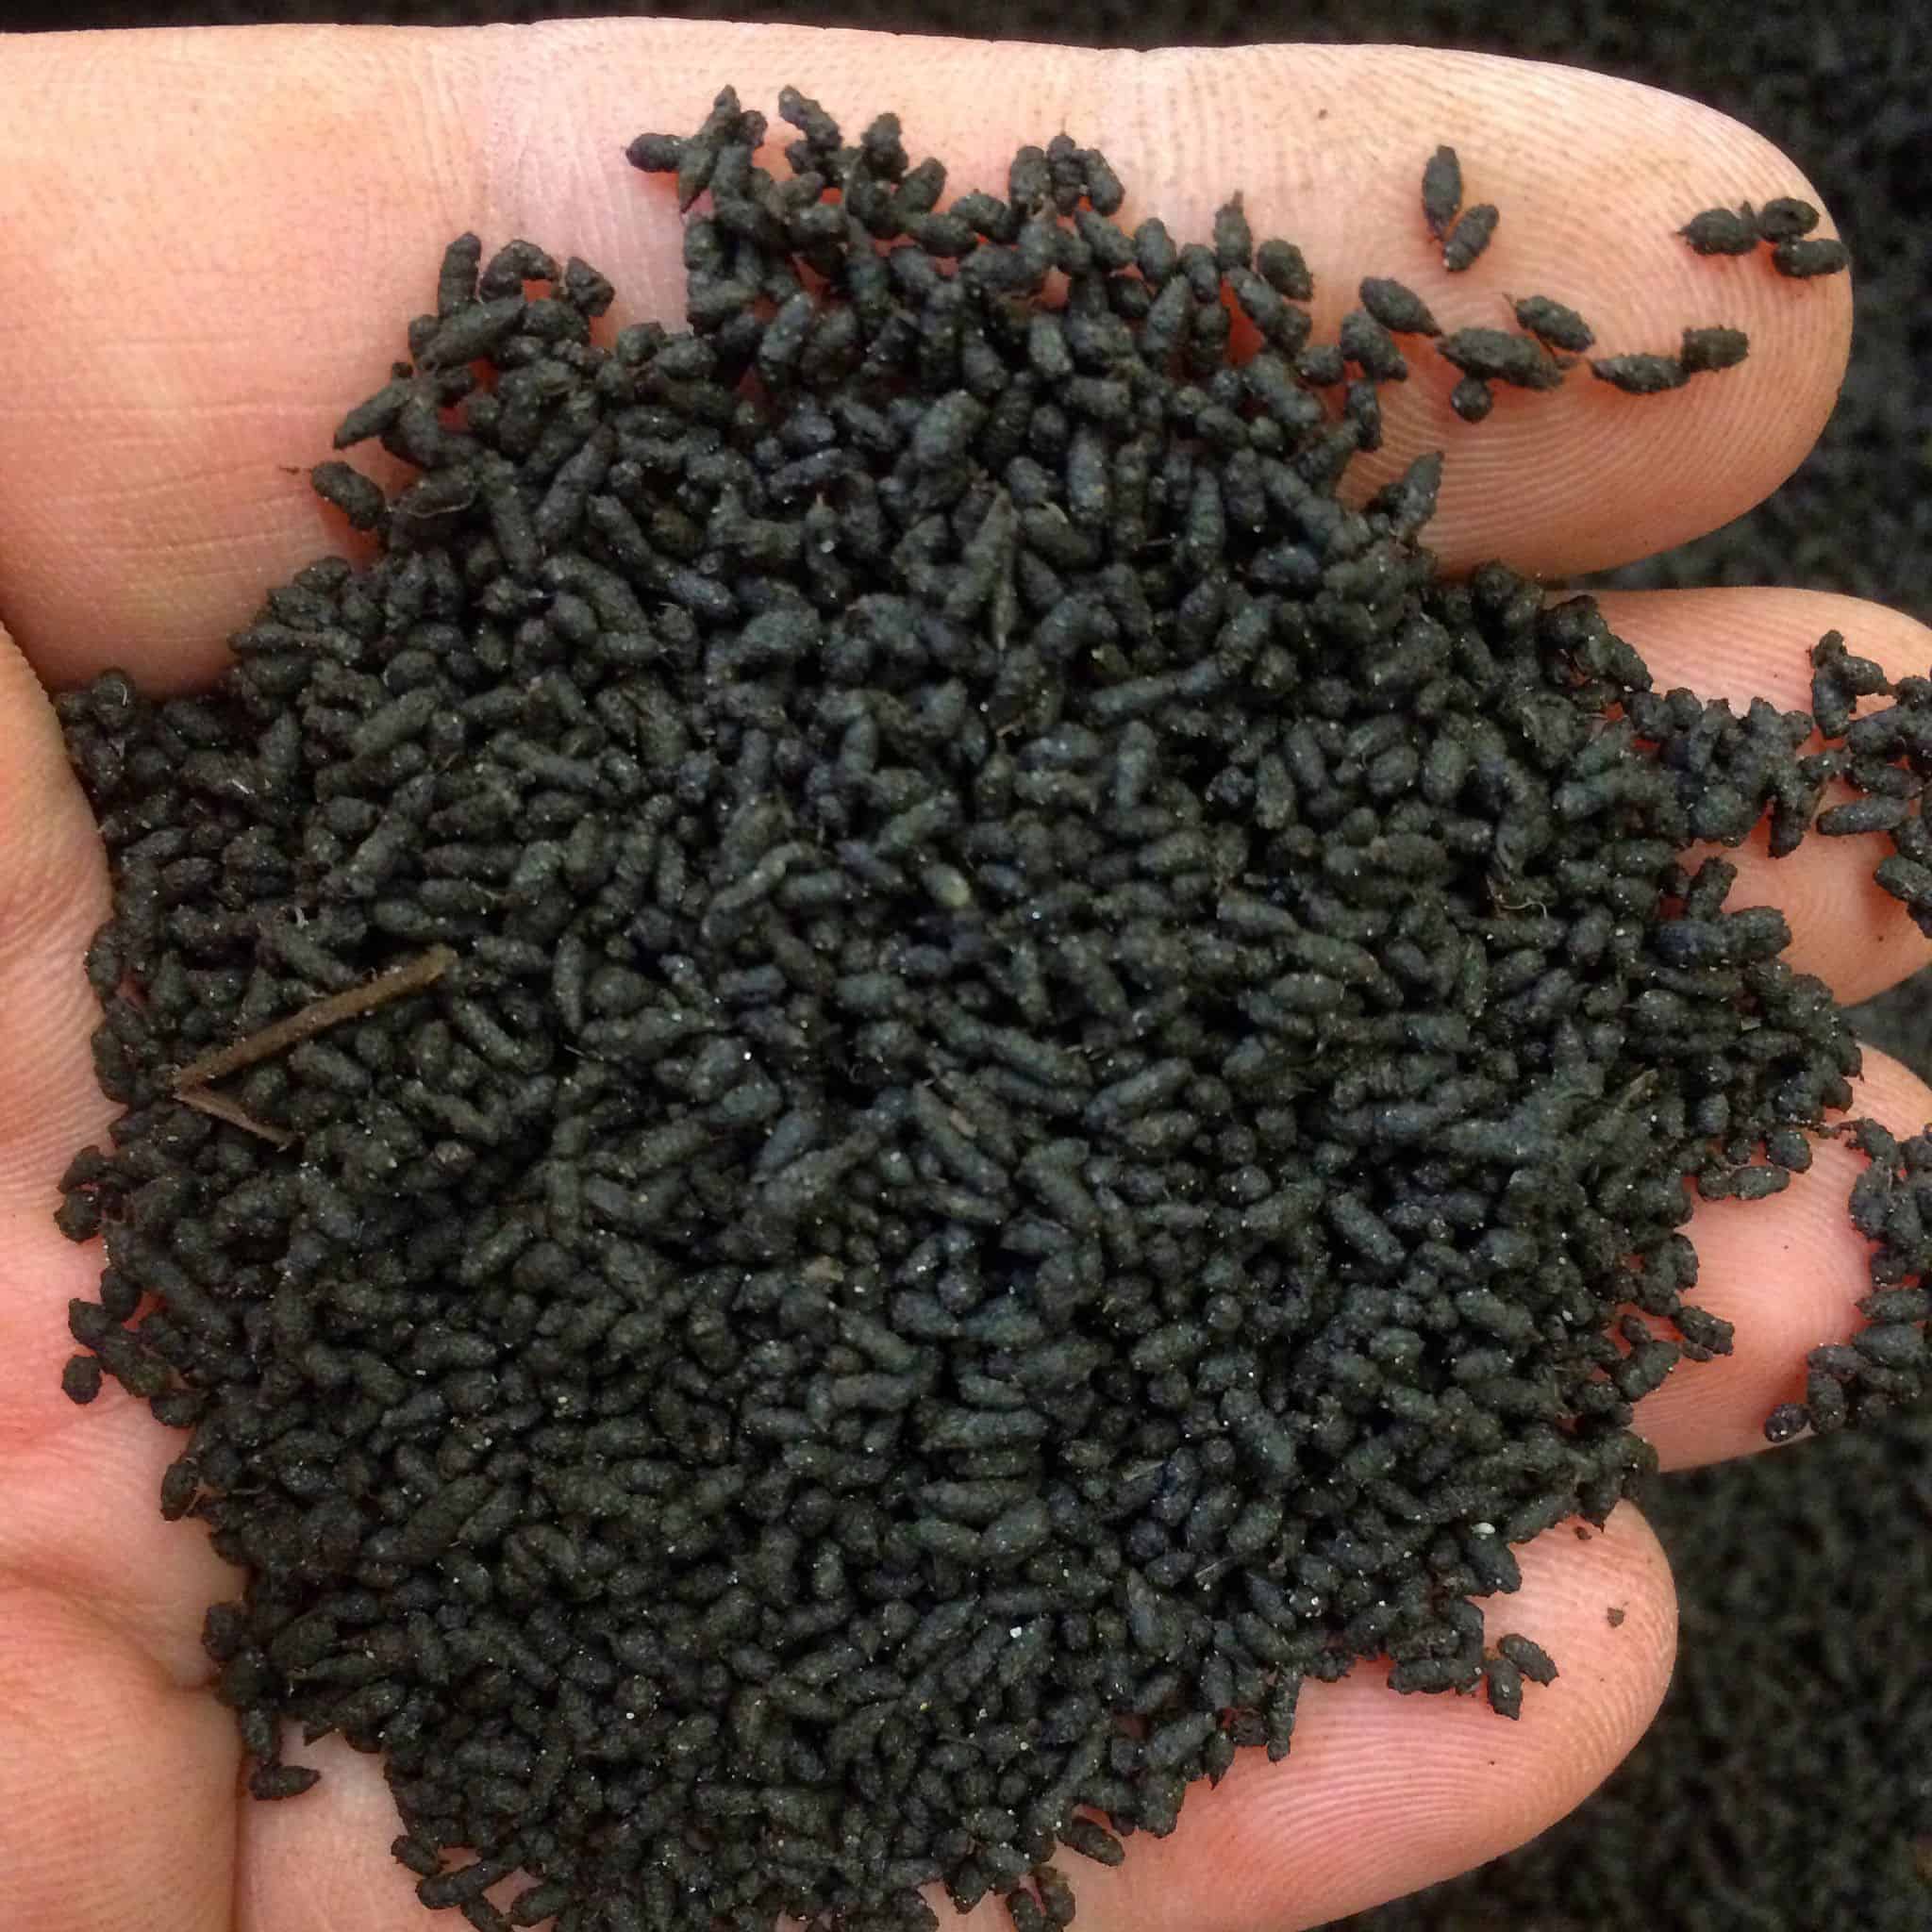
Worm castings are packed with concentrated nitrogen, phosphorus, calcium, and potassium essential for plant growth. They also contain 50% more humus than topsoil, which is easily absorbed and used up by plants. The humic acid content in the worm-casting-rich soil activates plant growth and encourages the growth of friendly microflora in the soil. The humus content of the soil also decreases the number of toxins and chemicals in the soil, making the plants happier and healthier.
Since worm castings are packed and dense, they increase the ability of soil to retain water. It makes the mix more resistant to water erosion and harsh conditions. It’s really a great addition to every garden!
How to Start a Vermicomposting System
As we’ve mentioned, making your own vermicomposting system is very easy. Here are the materials that you will need:
- Compost box with a secure lid with small holes for ventilation, about 3 ft × 3 ft, 8-10 inches deep (especially for a household of 2-3 people). Make sure the box is made out of plastic or natural plywood that’s not chemically treated.
- About a pound of earthworms (1,000+ worms), preferably the non-burrowing type. A combination would work just fine.
- A tray that would fit underneath the box.
- Black garbage bags to line the bottom and sides of the box.
- Old newspapers, dried leaves, wood shavings, cardboard cartons, spoiled hay, and aged animal manure to create bedding for the worms.
- Garden gloves and old kitchen tools (spatulas, big spoons, etc.)
- If possible, a combination of soil, sand, sawdust, and fine limestone grounds. Sprinkle a bit of these to help the earthworms facilitate grinding in their gizzards.
It’s good to know that there are vermicomposting sets or “worm bins” available on the market. These systems are generally designed for an easier set-up and maximum results. But if you have a surplus of materials lying around, then it’s better to just use what you have and save money.
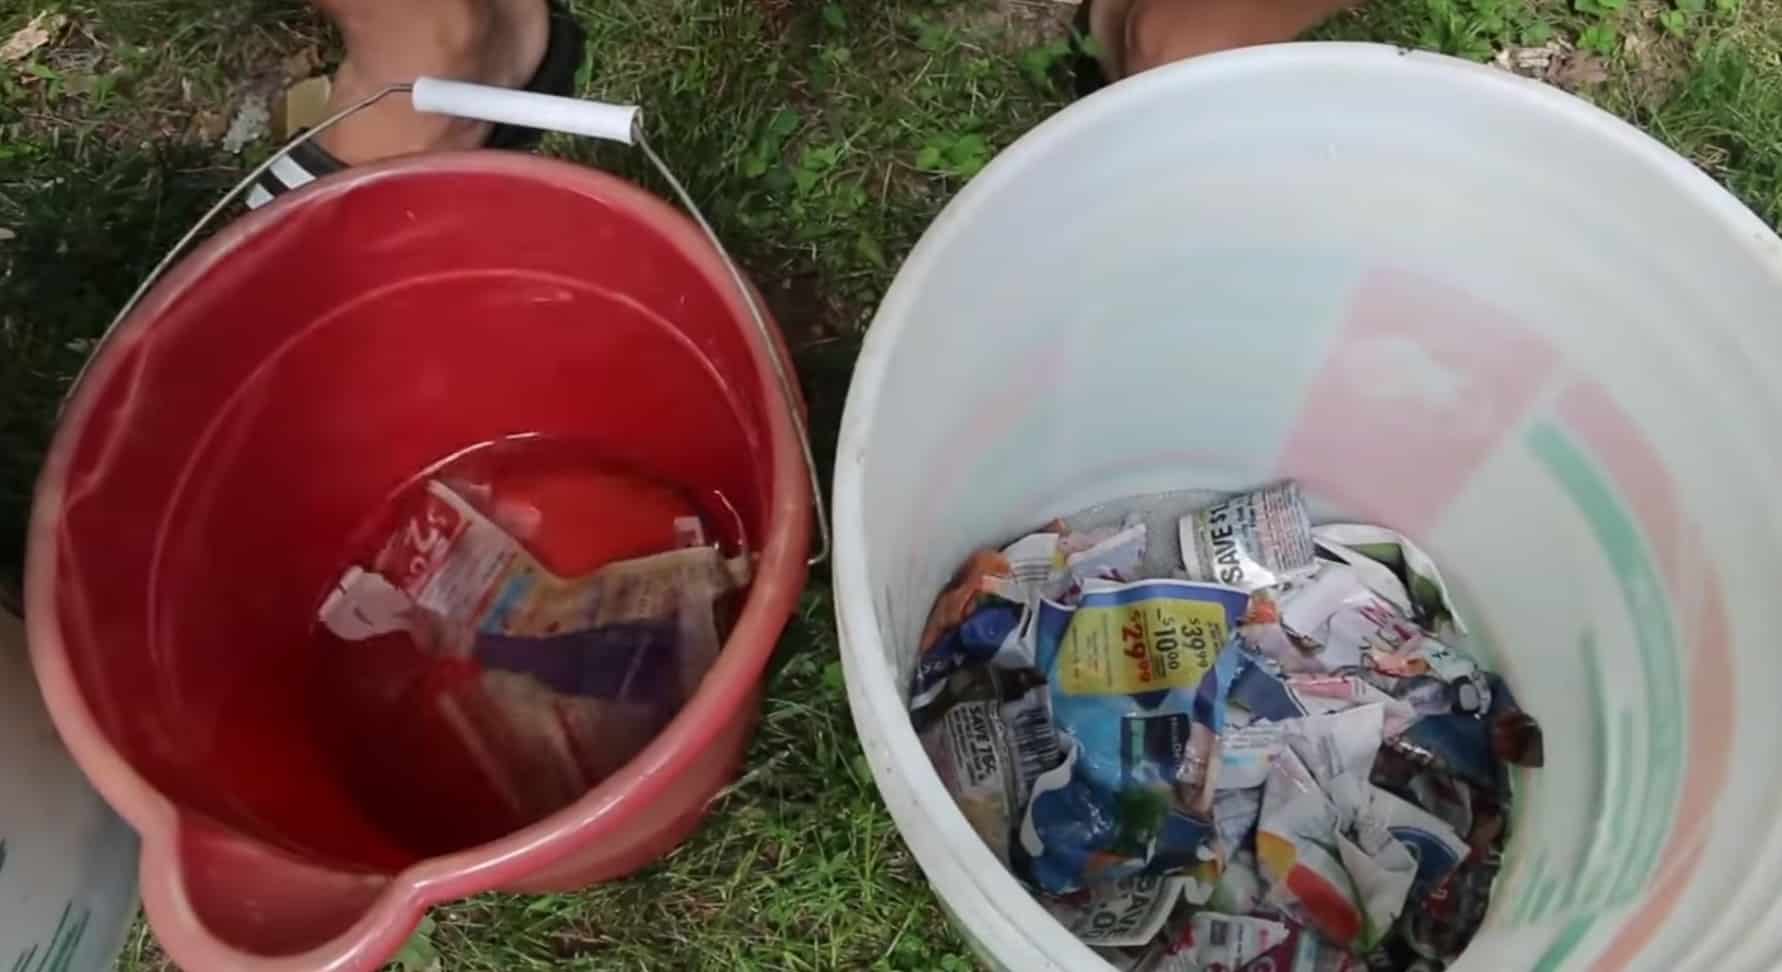
Once you’ve prepared your container, line it with sheets of garbage bags (slightly smaller than the entire surface area). This will help keep all of the moisture and contents inside. They also need a dark environment to thrive in, since the sunlight could dry out their skin.
Next, create moist bedding for the earthworms. You would need about 5-6 lbs. of shredded newspapers, leaves, etc. to bury food scraps in. Make sure to use materials that are not easily decayed, so that the bedding is full and dense. You may lose newspaper and other leaves if you are using a smaller container, like the 5-gallon bucket shown below.
Leave the worms inside with the bedding for 2-3 days, to help them settle into the environment. After this period, you may now add your food scraps. Check on your vermi-system every other day, making sure that the bedding is damp enough and everything else is in order.
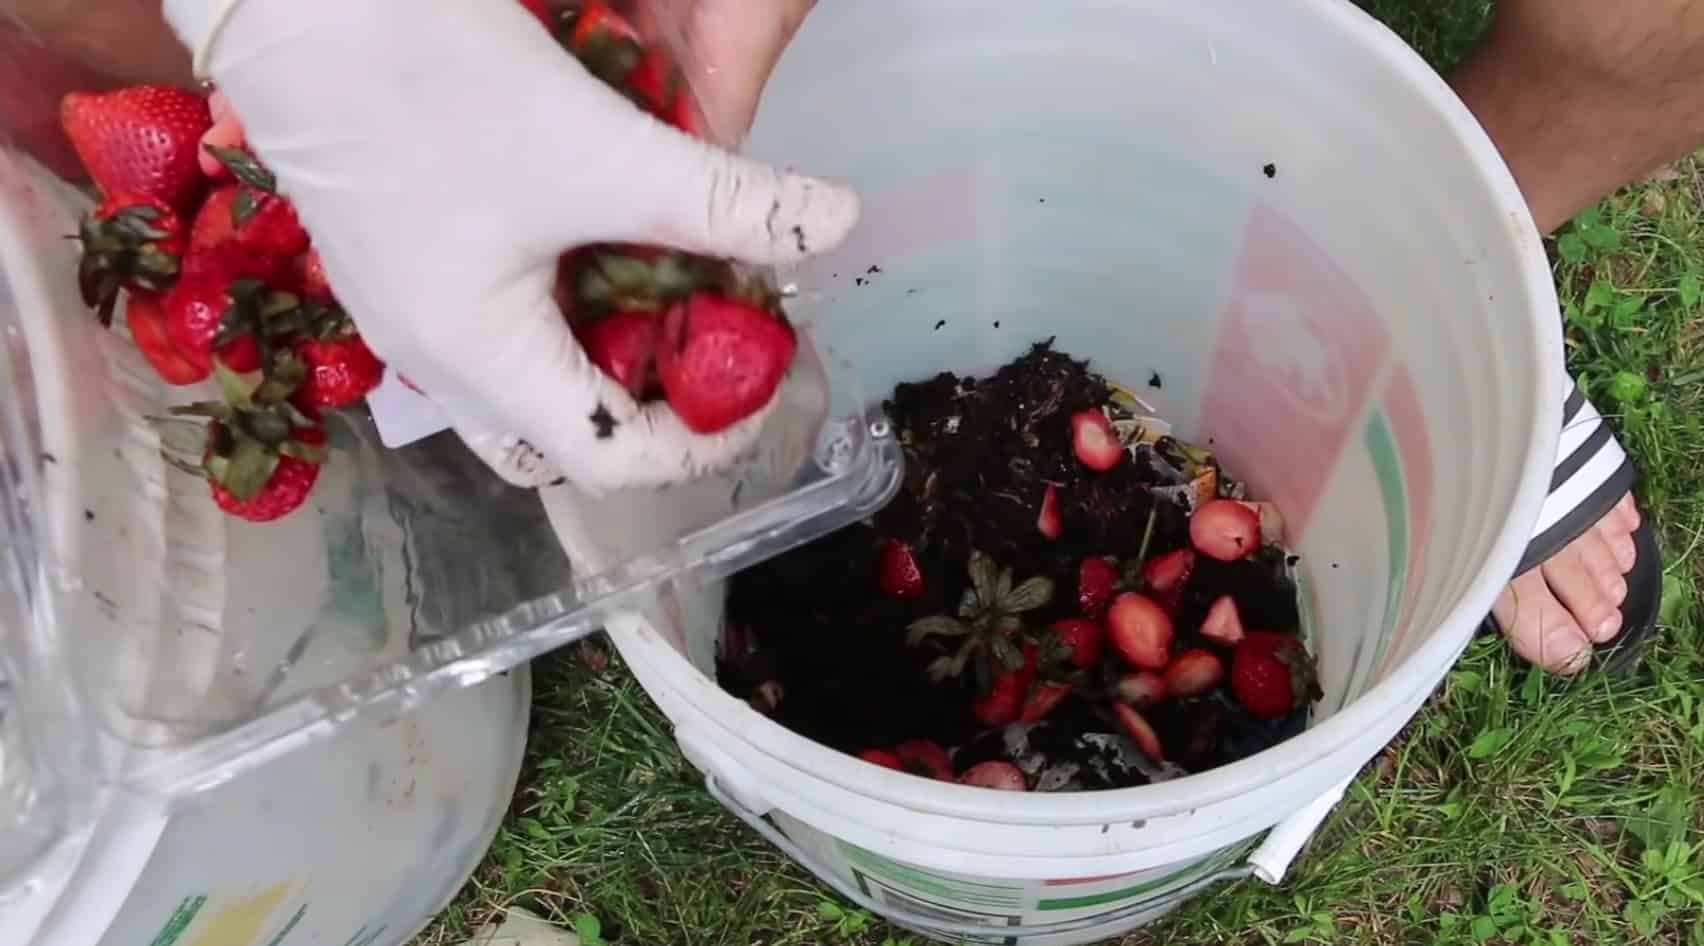
After layering with kitchen scraps, add another layer of damp paper scraps on top. Repeat this pattern until the desired height is reached.
And a Few Reminders…
Before you venture out into the world of organic farming and vermicomposting, we’d like to leave you with a few reminders for success:
Store your worm bin in a cool, quiet place away from direct sunlight. Worms are quite sensitive to light and noise, and this may affect the quality and quantity of castings that they produce. Most basements are great options to store your worms.
Once you fill-up the bin with bedding material, make sure to create a pit in the middle where you can position the worms. Leave the lid slightly open for a few minutes to let a bit of light in. This would encourage the worms to burrow inside.
You can feed your worms with most types of organic refuse 2-3 times a week, in small, easily digestible pieces. Fruit and vegetable scraps, coffee grounds, eggs and eggshells, and other food scraps can be incorporated into your bin. Just steer clear of meat, oils, and dairy products. These kinds of food will end up stinking your bin and could possibly attract rodents and other insects. You wouldn’t want that!
Opt to use newspapers or any kind of black-ink scratch paper for the bedding. Avoid the ones with colored ink, which may be toxic to the worms. If you must use newspaper with ink, check to make sure it uses soy-based ink, which most newspapers do. Avoid magazines or other glossy papers.
The bedding and entire compost system should be damp since earthworms need moisture to breathe through their skins. If too much liquid pools below the bedding, the bin may smell bad. Extract excess liquid by using a basting tool or syringe.
It is best to wait 2-3 months before you start harvesting the worm castings. Some setups even take as long as 6 months to produce an optimum amount.
And there you have it! We hope these bits of information will be able to help you start your very own vermicomposting system. It’s a cost-effective and unique way to deal with organic kitchen scraps that would’ve otherwise landed in dumpsters.

